Integrating OpenCV (C++) with Visual Studio 2019
In this post, I will set up OpenCV v4.10.0 on Windows 10 and create a demo C++ project to demonstrate how to integrate OpenCV with Visual Studio 2019.
Setup OpenCV
1. Download
-
Go to the OpenCV releases page.
-
Find version 4.10.0.
-
Click Windows to download the installer.
2. Install
-
Run the installer.
-
Specify
C:\as the installation path. -
After installation, a new folder named opencv should appear in
C:\.
3. Set Environment Variables
-
Open Advanced System Properties in Windows 10.
-
Click Environment Variables…
-
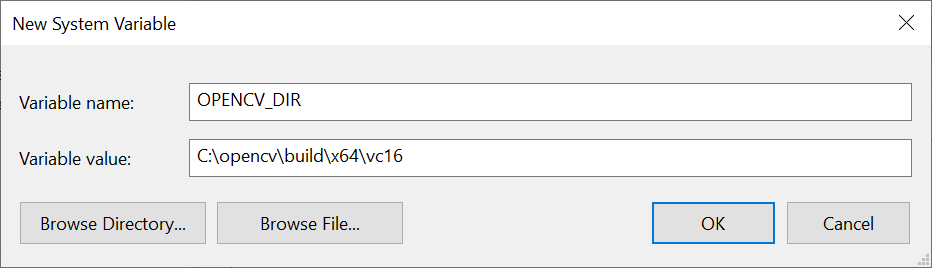
Create a new system variable named OPENCV_DIR with the value:
C:\opencv\build\x64\vc16
- In the system variable Path, add:
%OPENCV_DIR%\bin

Create the Demo Project
1. New Project
-
Create a new project in Visual Studio.
-
Set the programming language to C++.
-
From the filtered list, select Console App.
2. Project Properties
- Open the Property Pages window (Project > Properties).
Debug configuration:
-
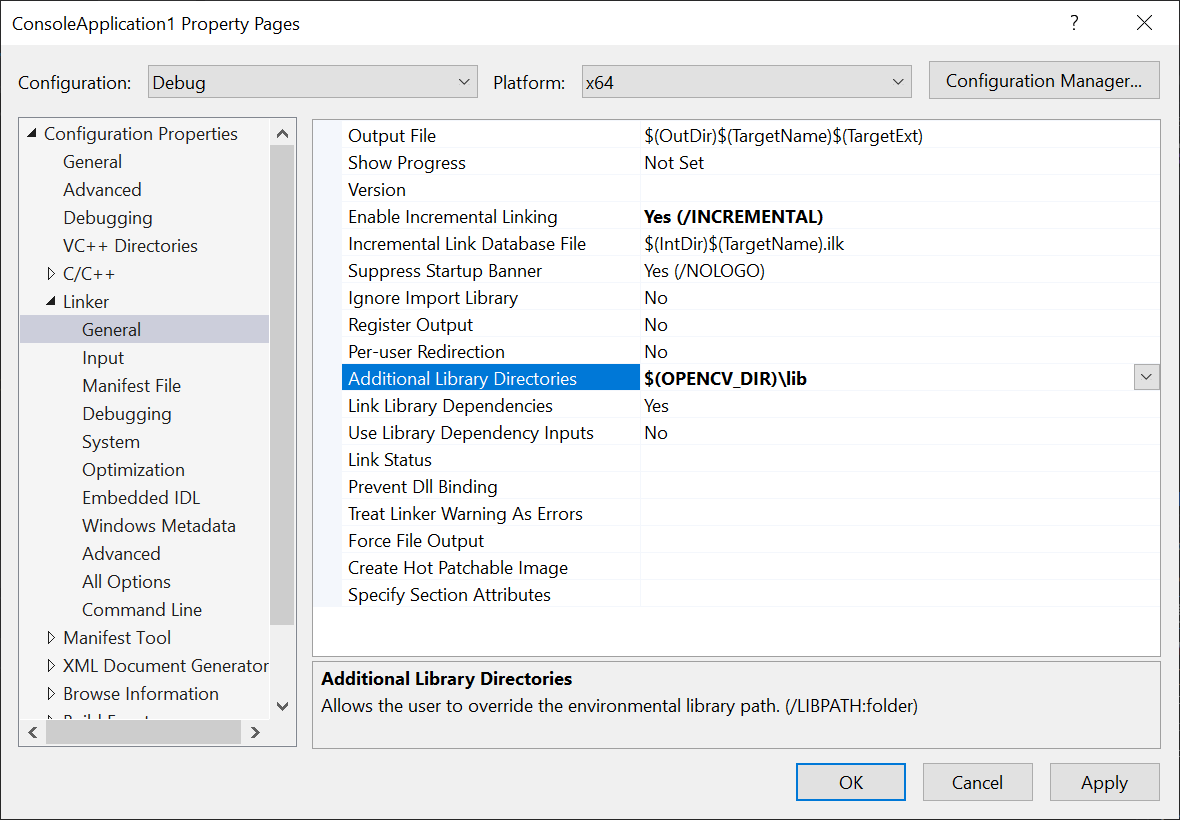
Set Configuration to Debug and Platform to x64.
-
In C/C++ > General, under Additional Include Directories, add:
$(OPENCV_DIR)\..\..\include

- In Linker > General, under Additional Library Directories, add:
$(OPENCV_DIR)\lib
- In Linker > Input, under Additional Dependencies, add:
opencv_world4100d.lib;

- Click Apply.
Release configuration:
-
Set Configuration to Release.
-
Repeat the same steps for include and library directories.
-
In Linker > Input, under Additional Dependencies, add:
opencv_world4100.lib; -
Click Apply.
Finally, in the Configuration Manager, remove the x86 (Win32) platform.
Run the Program
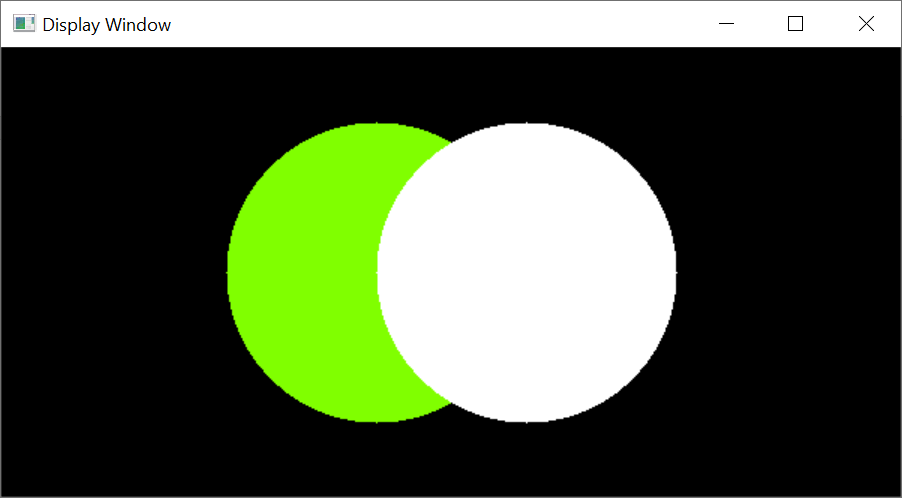
- Replace the default project code with the sample code below.
#include <opencv2/opencv.hpp>

using namespace cv;

int main()
{
    Mat image = Mat::zeros(300, 600, CV_8UC3);
    circle(image, Point(250, 150), 100, Scalar(0, 255, 128), -100);
    circle(image, Point(350, 150), 100, Scalar(255, 255, 255), -100);
    imshow("Display Window", image);
    waitKey(0);
    return 0;
}
- Build and run the project. If everything is set up correctly, a window should appear.